Wiring an electrical outlet can be a straightforward task if approached with the right knowledge and safety precautions. This guide will walk you through the process, ensuring you understand the safety measures and techniques needed for a successful installation.
Tools and Materials You Will Need:
- Voltage Tester: To ensure the power is off before you start working.
- Screwdrivers: Flathead and Phillips.
- Wire Strippers: For removing insulation from the wires.
- Needle-Nose Pliers: For bending and manipulating wires.
- New Outlet: Make sure it matches your current outlet type (e.g., standard, GFCI).
- Electrical Tape: For additional safety.
- Wire Nuts: To connect wires securely if needed.
- Electrical Box: If installing a new outlet where one does not exist.
Safety Precautions:
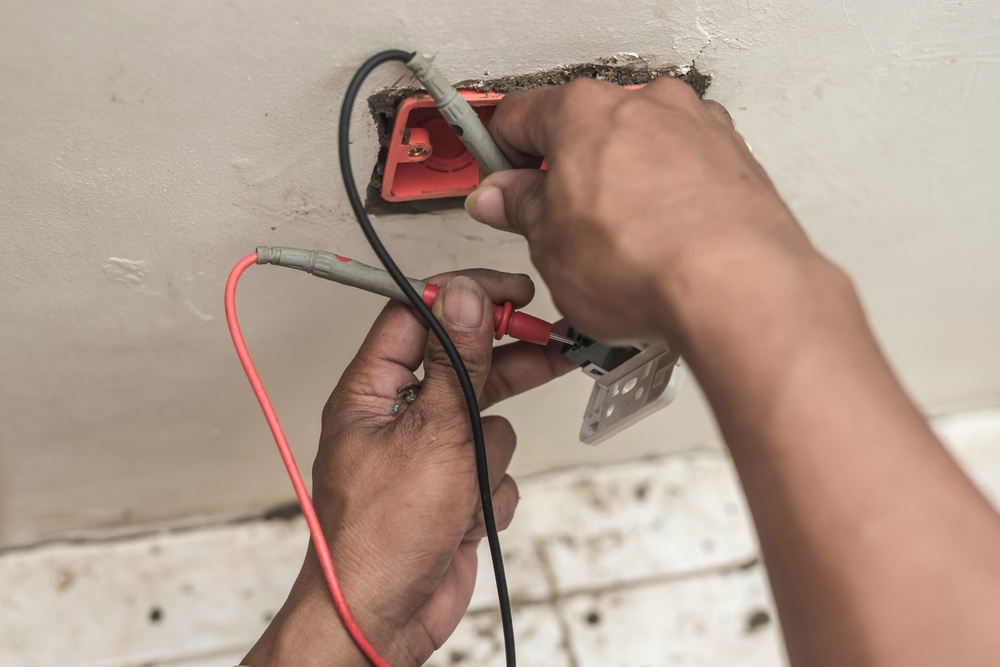
- Turn Off the Power: Before starting any electrical work, turn off the power at the circuit breaker. Use a voltage tester to ensure the power is off at the outlet.
- Work in a Dry Environment: Make sure the area is dry and avoid working with wet hands.
- Use Insulated Tools: Use tools with insulated handles to prevent electrical shock.
- Check Local Codes: Electrical codes vary, so ensure your work complies with local regulations.
Step-by-Step Guide:
- Turn Off the Power and Confirm:
- Locate your home’s main electrical panel and turn off the breaker that controls the outlet you’ll be working on.
- Use a voltage tester on the outlet to confirm that the power is off.
- Remove the Existing Outlet:
- Unscrew the outlet cover plate and remove it.
- Unscrew the outlet from the electrical box and pull it out, being careful not to touch the wires.
- Use the voltage tester again to ensure there is no power to any wires.
- Observe the Wiring Configuration:
- Take note of how the wires are connected to the existing outlet. Typically, you will see three types of wires:
- Black (Hot): Connected to the brass-colored screw.
- White (Neutral): Connected to the silver-colored screw.
- Green or Bare (Ground): Connected to the green screw or the electrical box.
- Take note of how the wires are connected to the existing outlet. Typically, you will see three types of wires:
- Disconnect the Wires:
- Loosen the screws holding the wires and gently pull the wires off the outlet.
- Straighten the ends of the wires if they are bent.
- Prepare the New Outlet:
- If necessary, strip about 1/2 inch of insulation from the ends of the wires using wire strippers.
- Make sure the new outlet matches the wiring configuration of the old one.
- Connect the Wires to the New Outlet:
- Ground Wire: Connect the green or bare wire to the green screw on the outlet.
- Neutral Wire: Connect the white wire to the silver screw.
- Hot Wire: Connect the black wire to the brass screw.
- Ensure all connections are tight and secure. Use needle-nose pliers to loop the wire around the screw in a clockwise direction for a solid connection.
- Secure the Outlet:
- Carefully push the wires back into the electrical box, ensuring they are not pinched or overly bent.
- Screw the new outlet into the electrical box.
- Install the Cover Plate:
- Place the outlet cover plate over the outlet and screw it into place.
- Turn the Power Back On:
- Go back to the main electrical panel and turn the circuit breaker back on.
- Test the outlet with a voltage tester to ensure it is working properly.
- Final Check:
- Plug in a device or use a receptacle tester to confirm that the outlet is functioning correctly.
Additional Tips:
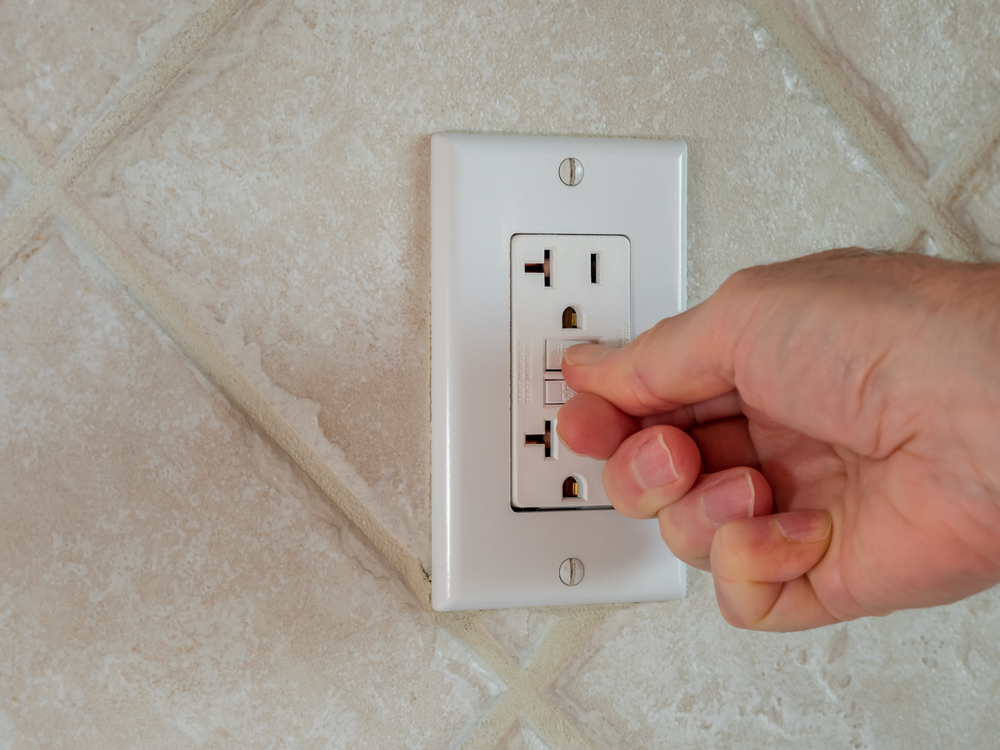
- GFCI Outlets: In areas where there is a risk of moisture (kitchens, bathrooms), use Ground Fault Circuit Interrupter (GFCI) outlets. These outlets have a test and reset button and provide additional safety.
- Label Wires: If working with multiple wires, label them to avoid confusion during reinstallation.
- Use Wire Nuts: If you need to join wires together inside the box, twist the wires together and cap them with wire nuts for safety.

By following these steps and precautions, you can safely wire an outlet in your home. Always prioritize safety and consult a professional if you are unsure about any aspect of the process.
Tips and Troubleshooting
Once you are familiar with the basic steps of wiring an outlet, it’s important to understand some advanced tips and troubleshooting methods to handle any issues that may arise.
Advanced Tips:
- Proper Grounding:
- Ensure that the ground wire is properly connected to the outlet and the electrical box (if it’s metal). Poor grounding can lead to electrical shocks and equipment damage.
- In older homes, you might not find a ground wire. In such cases, consider consulting an electrician to upgrade your wiring for safety.
- Using Pigtails:
- When you have multiple wires coming into the box, use pigtails (short lengths of wire) to connect the outlet. This ensures a more secure and less cluttered connection.
- GFCI Outlets:
- GFCI outlets are essential in areas exposed to water, such as kitchens, bathrooms, and outdoor locations. These outlets detect ground faults and cut off power to prevent shocks.
- When installing a GFCI outlet, ensure the “LINE” terminals (power supply) are connected correctly. The “LOAD” terminals are for downstream outlets that will be protected by the GFCI.
- AFCI Outlets:
- Arc Fault Circuit Interrupter (AFCI) outlets are designed to prevent fires by detecting arc faults. These are typically required in bedrooms and living areas.
- Like GFCI outlets, proper installation is crucial. Follow the manufacturer’s instructions carefully.
Troubleshooting Common Issues:
- Outlet Not Working:
- Double-check that the power is on at the breaker.
- Verify all wire connections are tight and secure.
- Use a receptacle tester to identify wiring issues.
- Tripped Breaker:
- If the breaker trips immediately after turning it back on, there may be a short circuit or overload. Inspect your wiring for any exposed wires or improper connections.
- Ensure that the outlet and circuit are not overloaded with too many devices.
- Loose Connections:
- Loose connections can cause intermittent power issues. Ensure all screw terminals are tightened securely.
- For wire nuts, make sure the wires are twisted together tightly before securing the nut.
- Warm Outlet or Faceplate:
- An outlet or faceplate that feels warm to the touch can indicate an overloaded circuit or loose connections. Inspect the wiring and consider distributing the load to another circuit if necessary.
- No Ground Wire:
- If you find no ground wire in an older home, you can use a GFCI outlet for added safety. Label the outlet with “No Equipment Ground” stickers, which are typically provided with the GFCI outlet.

When to Call a Professional:
While DIY electrical work can be rewarding, there are times when calling a professional electrician is the best course of action:
- Major Electrical Work: For tasks beyond replacing an outlet, such as installing new circuits or rewiring parts of your home.
- Code Compliance: Ensuring all work meets local electrical codes and standards.
- Safety Concerns: If you are unsure about any aspect of the work or if the existing wiring looks damaged or outdated.
Maintaining Electrical Safety:
- Regular Inspections:
- Periodically check outlets for signs of wear, damage, or overheating.
- Test GFCI and AFCI outlets monthly using the test button.
- Childproofing:
- Use outlet covers in homes with young children to prevent accidental shocks.
- Surge Protection:
- Consider installing whole-house surge protection to safeguard your electrical system from power surges.
By following these advanced tips and troubleshooting methods, you can ensure that your electrical outlets are installed correctly and safely. Always prioritize safety and consult with a professional electrician when in doubt.
