Electrical outlets are an essential component of every home, but they can also be a potential safety hazard if installed or repaired incorrectly. Whether you’re building a new home or upgrading your existing electrical system, it’s important to understand the best practices for electrical outlet installation and repair to ensure the safety of your family and property.
In this guide, we’ll cover essential techniques for installing and repairing electrical outlets, along with key safety tips to boost your home’s safety. Whether you’re a homeowner in San Diego or anywhere else, this article will help you decide when to tackle the job yourself and when to call the professionals at One & Only Electrical Service.
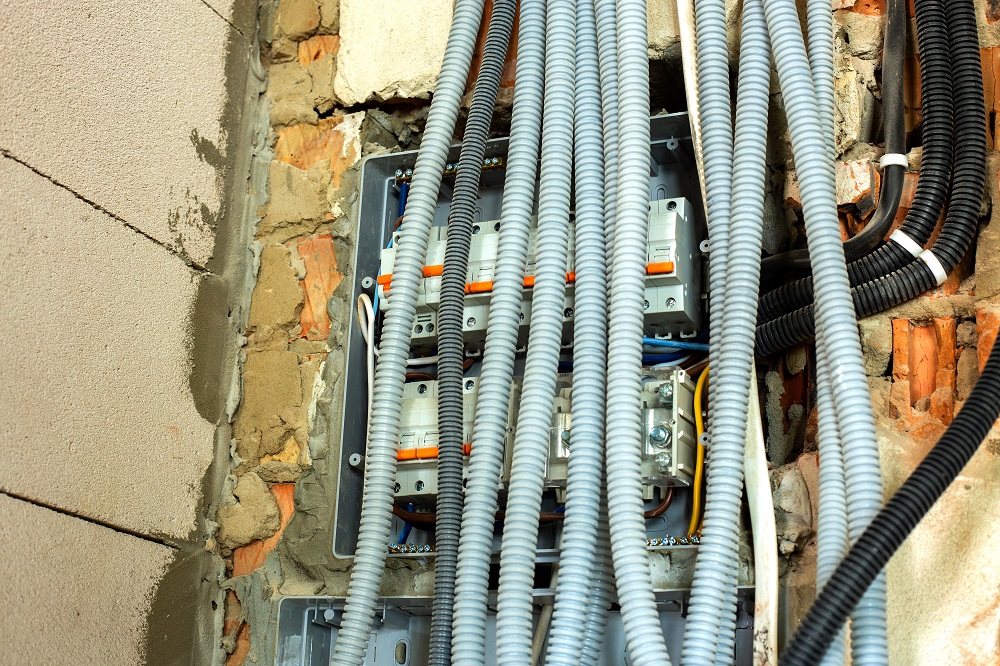
Understanding Your Home Wiring: The Basics
Before diving into electrical outlet installation and repair, it’s essential to have a basic understanding of your home’s wiring. Residential wiring typically consists of a few key components:
- Romex Wire: Romex is a type of electrical wire commonly used in homes. It contains multiple insulated wires inside a non-metallic sheath. These wires include the hot wire (typically black or red), neutral wire (white), and ground wire (bare or green).
- Wire Connectors: Also known as wire nuts, these are used to connect electrical wires together securely.
- Copper Wire: The most commonly used material for electrical wiring, known for its high conductivity.
- Electrical Wire Connectors: Used to join wires together, ensuring a solid connection without risking exposed wires.
By understanding these basic components, you can safely approach electrical projects. However, improper wiring can result in dangerous consequences, including electrical shocks and fire hazards. If you’re unsure, always consult a professional.
Essential Techniques for Electrical Outlet Installation
1. Turn Off the Power
Before working on any electrical outlet, always turn off the power at the circuit breaker to prevent electrical shocks. Test the outlet with a voltage tester to ensure no electricity is flowing through the wires.
2. Choose the Right Outlet Type
There are different types of electrical outlets for various purposes. For example, kitchens and bathrooms typically require GFCI (Ground Fault Circuit Interrupter) outlets to prevent electrical shocks in areas exposed to water. Always select the correct type of outlet for the room’s specific needs.
3. Wire the Outlet Correctly
When installing an outlet, ensure the wires are connected to the proper terminals:
- Hot wire (black/red): Connects to the brass terminal.
- Neutral wire (white): Connects to the silver terminal.
- Ground wire (green or bare copper): Connects to the green grounding screw.
Tightly secure the wires to their respective terminals to prevent any loose connections, which can cause arcing and fires.
4. Secure the Outlet in the Box
Once wired, gently fold the wires into the electrical box and secure the outlet in place with screws. Make sure it’s flush with the wall for a clean and safe finish.
5. Test the Outlet
Once the outlet is installed, turn the power back on and use a voltage tester to ensure everything is working properly. If the outlet doesn’t work or you experience tripped breakers, there may be a wiring issue that requires professional attention.
Common Electrical Outlet Repair Issues
Even if you’ve successfully installed your outlets, repairs may become necessary over time due to wear and tear, loose connections, or outdated wiring.
1. Loose Outlets
A loose outlet can create sparks, leading to potential electrical fires. To fix this, turn off the power and check the wiring behind the outlet. Secure any loose connections and reattach the outlet firmly to the electrical box.
2. Burnt or Scorched Outlets
If you notice burn marks around an outlet, it’s a sign of overheating or faulty wiring. Burnt outlets should be replaced immediately, as they pose a serious fire hazard. Always consult a licensed electrician for repairs in these cases.
3. Flickering Lights
Flickering lights can be a sign of loose wiring or an overloaded circuit. If you notice your lights flickering when using an outlet, turn off the power and inspect the wiring. In some cases, you may need to upgrade your circuit or breaker panel to handle the electrical load.
When to Call a Professional
While basic electrical outlet installation and repairs are manageable for confident DIYers, some jobs are best left to the professionals. If you’re unsure or uncomfortable with any part of the process, contact One & Only Electrical Service in San Diego for expert assistance.
Complex Electrical Jobs That Require a Pro
- Electrical Troubleshooting: If you’re dealing with frequent breaker trips or mysterious electrical issues, a licensed electrician can diagnose the root cause.
- Circuit Breaker Replacement: Replacing or upgrading your circuit breaker requires specialized tools and knowledge.
- Electric Panel Upgrade: Homes with outdated electrical panels may need upgrades to safely accommodate modern appliances and devices.
- Subpanel Installation: Installing a subpanel can help distribute the electrical load if you’re adding new rooms or upgrading your electrical system.
- Electrical Vehicle Charging Station: Installing an EV charging station involves high-voltage wiring that should always be handled by a professional.
- Home Solar System: If you’re adding solar panels to your home, professional installation is crucial for safety and efficiency.
- Inspections & Wiring: Regular electrical inspections ensure that your home’s wiring is up to code and safe from potential hazards.
Frequently Asked Questions (FAQ)
Q1: Can I install an electrical outlet myself?
Yes, you can install an outlet yourself if you’re familiar with your home’s wiring and have the necessary tools. However, always prioritize safety and turn off the power at the circuit breaker before starting. For more complex jobs, it’s best to hire a professional.
Q2: How do I know if my outlet is grounded?
You can use a voltage tester or outlet tester to check if your outlet is grounded. Simply insert the tester’s prongs into the outlet slots and observe the readings. A properly grounded outlet will show the correct voltage without triggering any warnings.
Q3: How much does it cost to install an electrical outlet in San Diego?
On average, the cost to install a new outlet ranges from $100 to $300, depending on factors like the complexity of the job, the type of outlet being installed, and whether new wiring is needed.
Q4: What is the difference between a GFCI and a regular outlet?
A GFCI outlet (Ground Fault Circuit Interrupter) is designed to shut off power when it detects a ground fault, which can occur when electrical currents leak into water. These outlets are required in areas like kitchens, bathrooms, and outdoor spaces to prevent electrical shocks.
Q5: When should I replace my electrical outlets?
You should replace outlets if they are damaged, burned, or if they feel loose when plugging in devices. Outlets that frequently trip or have faulty wiring should also be replaced immediately to prevent hazards.