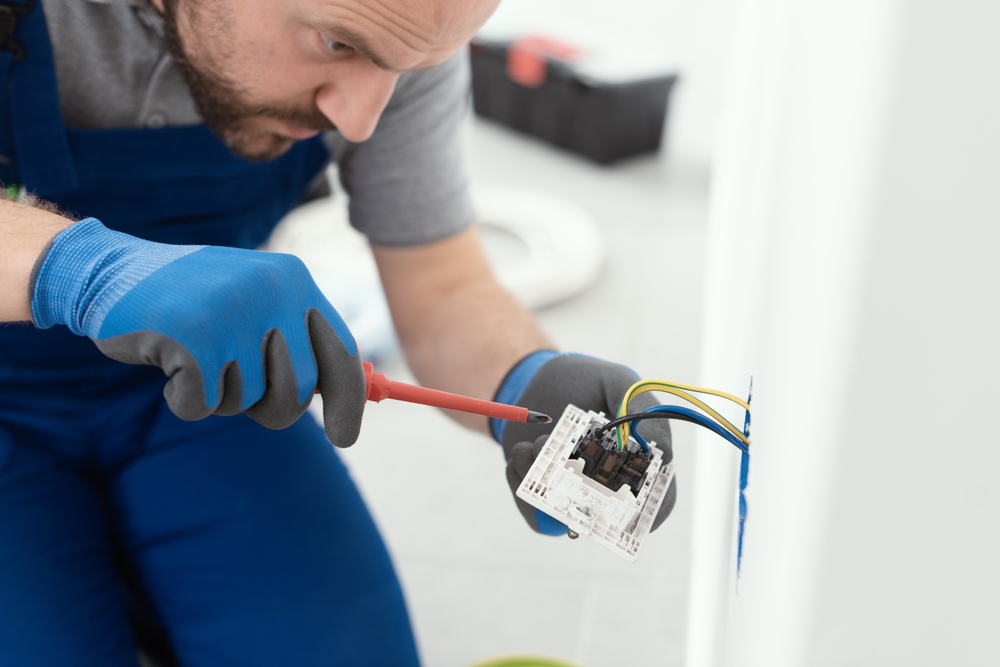
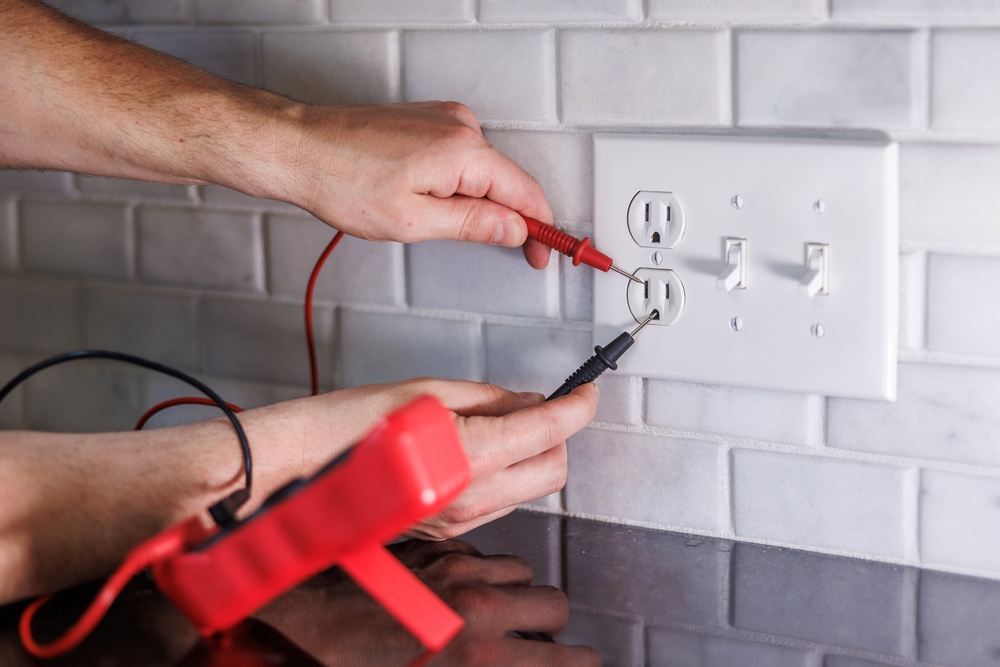
Wiring an electrical outlet involves several steps to ensure safety and functionality. Here's a detailed step-by-step guide to help you through the process.
Materials Needed
- Electrical outlet (receptacle)
- Electrical box
- Wire stripper
- Screwdrivers (flathead and Phillips)
- Voltage tester
- Electrical tape
- Wire nuts
- Needle-nose pliers
- Electrical cable (Romex)
- Outlet cover plate
Safety Precautions
- Turn off the Power: Switch off the circuit breaker that controls the outlet you’ll be working on. Use a voltage tester to confirm that the power is off.
- Wear Safety Gear: Use insulated gloves and safety glasses to protect yourself.
Step-by-Step Guide
1. Prepare the Electrical Box
- If you’re installing a new outlet, choose a location and install the electrical box securely to a stud.
- If replacing an old outlet, remove the cover plate and unscrew the outlet from the electrical box.
2. Strip the Wire
- Use a wire stripper to remove about 3/4 inch of insulation from the ends of the wires (black, white, and ground).
3. Connect the Wires
- Black (Hot) Wire: Connect the black wire to the brass screw. Loop the wire clockwise around the screw and tighten the screw.
- White (Neutral) Wire: Connect the white wire to the silver screw. Loop the wire clockwise around the screw and tighten the screw.
- Ground Wire: Connect the bare copper or green wire to the green screw. Loop the wire clockwise around the screw and tighten the screw.
4. Secure the Outlet
- Carefully tuck the wires into the electrical box.
- Screw the outlet into the electrical box using the mounting screws.
- Ensure the outlet is flush with the wall and properly aligned.
5. Install the Cover Plate
- Place the cover plate over the outlet and screw it into place.
6. Restore Power
- Turn the circuit breaker back on.
- Use a voltage tester to confirm that the outlet is working properly.
Additional Tips
- Wire Nuts: Use wire nuts to join wires together if you’re splicing or extending wiring. Twist the wires together first, then screw on the wire nut securely.
- Labeling: Label the circuit breaker that controls the outlet for future reference.
- Testing: Always test the outlet with a voltage tester before touching any wires, even if you think the power is off.
Troubleshooting
- No Power: Check if the circuit breaker is on and the connections are secure.
- Loose Outlet: Ensure the outlet is firmly secured to the electrical box.
- Tripping Breaker: This could indicate a short circuit or overload. Double-check your connections and consult a professional if needed.
Advanced Wiring Scenarios
Wiring an Outlet in the Middle of a Circuit
When adding an outlet to an existing circuit, you need to connect both incoming and outgoing wires.
- Incoming Wires: These come from the power source (panel or another outlet).
- Outgoing Wires: These go to the next outlet or device in the circuit.

Steps:
- Prepare the Electrical Box: As before, make sure the power is off, and the wires are stripped.
- Connect the Incoming Wires:
- Connect the black (hot) wire to one of the brass screws.
- Connect the white (neutral) wire to one of the silver screws.
- Connect the ground wire to the green screw.
- Connect the Outgoing Wires:
- Connect the second black (hot) wire to the other brass screw.
- Connect the second white (neutral) wire to the other silver screw.
- Connect the second ground wire to the same green screw or another grounding point in the box.
- Secure the Wires and Outlet: Carefully tuck all wires back into the electrical box and secure the outlet as previously described.
Wiring a GFCI Outlet
Ground Fault Circuit Interrupter (GFCI) outlets protect against electrical shock by breaking the circuit when they detect an imbalance between hot and neutral wires.
Steps:
- Turn off the Power: As always, start by turning off the power.
- Identify Line and Load Terminals: GFCI outlets have line terminals (for incoming power) and load terminals (for downstream protection).
- Connect the Line Wires:
- Connect the black (hot) wire to the brass-colored line terminal.
- Connect the white (neutral) wire to the silver-colored line terminal.
- Connect the ground wire to the green ground screw.
- Connect the Load Wires (if protecting additional outlets downstream):
- Connect the black (hot) wire to the brass-colored load terminal.
- Connect the white (neutral) wire to the silver-colored load terminal.
- Connect the ground wire to the same grounding point.
- Secure the Outlet and Test: Attach the outlet to the electrical box, restore power, and test the outlet using the built-in test and reset buttons.
Troubleshooting Tips
Outlet Doesn’t Work
- Check Power: Ensure the circuit breaker is on and power is reaching the outlet.
- Loose Connections: Verify all wire connections are secure and properly attached to the screws or terminals.
- Damaged Outlet: Inspect the outlet itself for any visible damage or wear.
Breaker Trips Immediately
- Short Circuit: This could indicate a short circuit. Double-check that no wires are touching each other improperly.
- Overload: Ensure the total load on the circuit does not exceed its capacity.

Outlet Works but is Warm
- High Load: Ensure the devices plugged into the outlet do not exceed its rating.
- Loose Connections: Loose wires can cause resistance and generate heat. Tighten all connections.
Additional Considerations
- Local Codes and Regulations: Always check local building codes for specific requirements regarding outlet placement, type, and installation practices.
- Tools: Invest in quality tools, such as a voltage tester, wire stripper, and proper screwdrivers, to ensure safe and efficient work.
- Professional Help: When in doubt, or if the wiring situation is complex, it’s best to consult with a licensed electrician.
Safety Recap
- Power Off: Always turn off power at the circuit breaker before starting work.
- Test Wires: Use a voltage tester to confirm that the wires are not live.
- Proper Connections: Ensure all connections are secure and correctly placed.
- Use Proper Materials: Only use outlets, wires, and tools that are rated for the job.
By following these detailed instructions and maintaining a focus on safety, you can successfully wire an electrical outlet for various scenarios.

