Installing a ceiling fan with a remote control can be straightforward if you follow these steps:
Step 1: Gather Tools and Materials
- Ceiling fan with remote control kit
- Ladder or step stool
- Screwdriver (typically Phillips)
- Wire cutters/strippers
- Electrical tape
- Circuit tester
- Wire nuts
- Mounting bracket and screws (often included with the fan)
- Fan blades and blade arms

Step 2: Turn Off Power
- Locate your circuit breaker panel and turn off power to the room where you’ll be installing the fan. Use a circuit tester to ensure the power is off before proceeding.
Step 3: Prepare the Ceiling Fan
- Assemble the fan according to the manufacturer’s instructions. This usually involves attaching the fan blades to the motor housing using the blade arms provided.
Step 4: Install the Mounting Bracket
- Attach the mounting bracket to the ceiling junction box using the screws provided. Make sure it’s securely fastened and can support the weight of the fan.
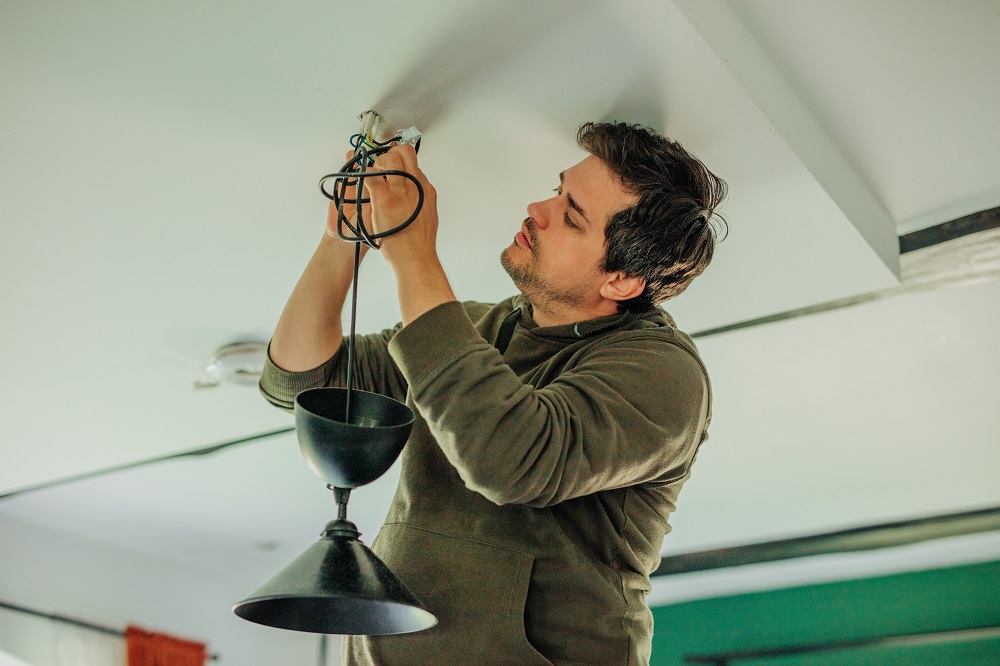
Step 5: Connect Wiring
- Identify and connect the wiring: typically, black to black (live), white to white (neutral), and green (or bare copper) to ground. If your fan has a remote control receiver, follow the manufacturer’s wiring diagram to connect it to the corresponding wires.
Step 6: Secure the Fan
- Lift the fan assembly and attach it to the mounting bracket, ensuring all screws are tight. Some fans have a ball-and-socket system that allows for easy attachment.
Step 7: Install the Canopy
- Slide the canopy up to cover the wiring and secure it to the mounting bracket with the provided screws.
Step 8: Attach Fan Blades
- Attach the fan blades to the blade arms using the screws provided. Ensure they are balanced and secure.
Step 9: Install the Remote Control
- Install batteries into the remote control (if required) and follow the manufacturer’s instructions to sync it with the fan.
Step 10: Test the Fan
- Turn the power back on at the circuit breaker and test the fan and remote control to ensure they’re working properly. Adjust any settings as needed.

Step 11: Secure and Finish
- Use wire nuts to secure any exposed wires, tuck them into the junction box, and replace the canopy cover.
Step 12: Enjoy Your New Ceiling Fan
- Once everything is installed and tested, enjoy the comfort and convenience of your new ceiling fan with remote control!
Step 13: Adjust Fan Settings (if applicable)
- Many ceiling fans with remote controls allow you to adjust settings such as fan speed, direction (for seasonal use), and lighting (if your fan has built-in lights). Refer to the remote control’s manual for instructions on adjusting these settings.
Step 14: Maintenance Tips
- Regularly clean your ceiling fan blades to prevent dust buildup, which can affect performance and efficiency.
- Check the fan’s stability periodically and tighten any loose screws or connections.
- Replace batteries in the remote control as needed to maintain reliable operation.
Step 15: Safety Considerations
- Always prioritize safety when working with electrical components. If you’re unsure about any step, consult a qualified electrician.
- Ensure the ceiling junction box is rated to support the weight of the fan and securely fastened to a ceiling joist or beam.
Step 16: Troubleshooting
- If your fan or remote control doesn’t work as expected, refer to the troubleshooting section in the fan’s manual or contact customer support for assistance.
Step 17: Additional Features
- Some ceiling fans with remote controls may have additional features such as timer settings, sleep mode, or even smartphone app compatibility. Explore these features as per the manufacturer’s instructions.
Step 18: Ceiling Fan Direction
- In warmer months, set your ceiling fan to rotate counterclockwise (when looking up at it) to create a cooling breeze. In cooler months, reverse the direction to clockwise to circulate warm air trapped near the ceiling.
Step 19: Remote Control Range
- Test the range of your remote control to ensure it works effectively from different parts of the room. If necessary, adjust the positioning of the receiver or remote for better performance.
Step 20: Energy Efficiency
- Opt for an energy-efficient ceiling fan model with the Energy Star label if you’re looking to reduce energy consumption and save on utility bills.

Step 21: Warranty and Registration
- Keep your warranty information handy and consider registering your ceiling fan with the manufacturer to qualify for future support or warranty claims.
Step 22: Enhancing Room Decor
- Choose a ceiling fan design and finish that complements your room’s decor and enhances its aesthetic appeal.
Step 23: Future Maintenance
- Periodically inspect the fan blades, motor, and mounting hardware for any signs of wear or damage. Address any issues promptly to ensure the longevity of your ceiling fan.
Step 24: Eco-Friendly Disposal
- Dispose of packaging materials responsibly and consider recycling or donating your old ceiling fan if replacing it with a new one.
Step 25: Noise Reduction
- If your fan produces excessive noise during operation, check that all screws and connections are securely tightened. Some fans also include balancing kits to reduce wobbling and noise.
Step 26: Ceiling Height Considerations
- For rooms with low ceilings, choose a flush-mount or low-profile ceiling fan to ensure adequate clearance. Follow the manufacturer’s guidelines for installation height.
Step 27: Remote Control Programming
- If your remote control allows programming multiple fans or controlling additional features like dimming lights, refer to the manual for specific programming instructions.
Step 28: Updating Firmware (if applicable)
- Modern ceiling fans with smart features or integrated technologies may receive firmware updates. Check the manufacturer’s website or app for updates to improve functionality or address security issues.
Step 29: Enhancing Airflow Efficiency
- Install your ceiling fan in a location that optimizes airflow throughout the room, avoiding obstacles or corners that may disrupt airflow patterns.
Step 30: Seasonal Maintenance
- Before each season, inspect the fan blades for dust buildup and clean them as needed. This helps maintain optimal airflow efficiency and prevents dust from circulating into the room.

Step 31: Personalizing Settings
- Explore any personalized settings or preferences your ceiling fan remote control offers, such as preset fan speeds or favorite configurations.
Step 32: Remote Control Battery Life
- Monitor the battery life of your remote control and replace batteries promptly when they run low to avoid interruptions in operation.
Step 33: Safety Certification
- Ensure your ceiling fan and remote control are certified by recognized safety organizations, such as UL (Underwriters Laboratories), for peace of mind regarding electrical safety standards.
Step 34: Final Inspection
- Once installation is complete, perform a final inspection of all connections, ensuring they are secure and properly insulated with electrical tape or wire nuts.
Step 35: Enjoy Your Comfortable Space
- After completing thee steps and ensuring everything is in working order, sit back, relax, and enjoy the enhanced comfort and convenience your ceiling fan with remote control provides.a
By following these steps and guidelines, you can successfully install and enjoy your ceiling fan with remote control.
