Installing recessed lighting can transform the ambiance of your living room, providing a clean and modern look while offering excellent illumination. Follow these steps to install recessed lighting yourself:
Tools and Materials Needed
- Recessed light kits
- New wiring
- Switches and dimmers (optional)
- Electrical boxes
- Drywall saw
- Measuring tape
- Pencil
- Stud finder
- Wire stripper
- Voltage tester
- Drill with hole saw attachment
- Screwdriver
- Wire nuts
- Fish tape
- Safety gear (goggles, gloves)
Step 1: Plan Your Layout
- Determine Lighting Needs: Assess the size and shape of your living room to decide how many recessed lights you’ll need. A good rule of thumb is to space lights about 4-6 feet apart.
- Mark Locations: Use a pencil to mark where each light will be installed. Ensure the marks are evenly spaced and away from any ceiling joists or other obstructions.
Step 2: Turn Off the Power
- Safety First: Turn off the power to the circuit you’ll be working on at the main electrical panel.
- Test the Circuit: Use a voltage tester to confirm the power is off by testing the existing light switch or outlet.
Step 3: Cut the Holes
- Locate Joists: Use a stud finder to locate ceiling joists and mark their positions.
- Drill Pilot Holes: Drill a small pilot hole at the center of each marked light location.
- Cut the Openings: Use a drywall saw or hole saw attachment to cut the holes for the recessed lights.

Step 4: Run the Wiring
- Access the Ceiling: If necessary, access the ceiling space by removing a section of drywall or through an attic.
- Run Cables: Use fish tape to run electrical cables from the power source to each light location.
- Install Electrical Boxes: Attach electrical boxes to the ceiling joists if required by local building codes.
Step 5: Connect the Wiring
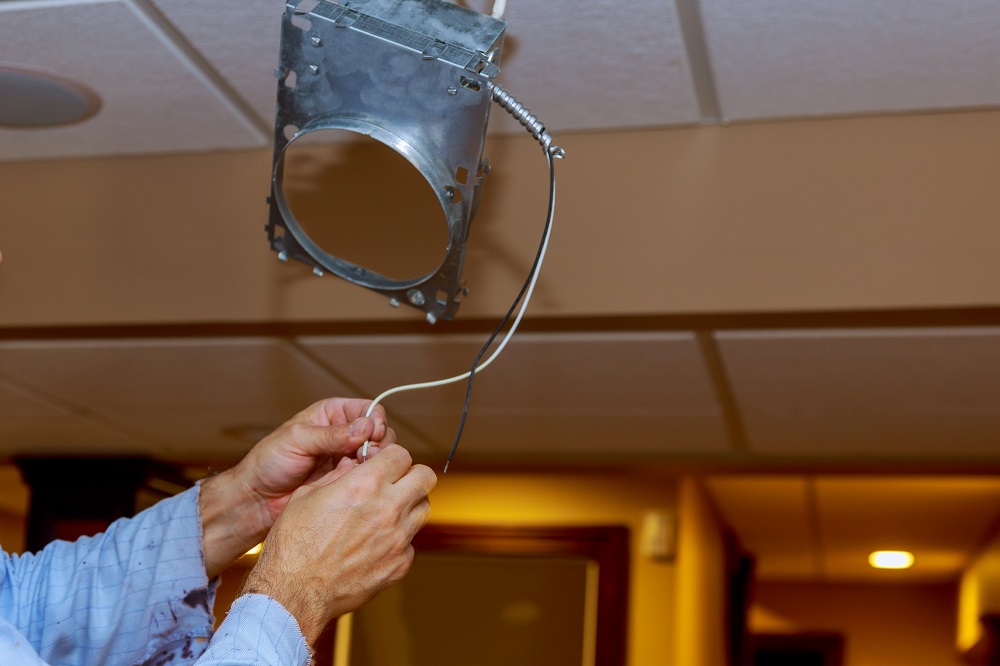
- Prepare Wires: Strip the insulation from the ends of the wires using a wire stripper.
- Make Connections: Connect the wires from the power source to the recessed light wires using wire nuts. Match the wire colors (black to black, white to white, and ground to ground).
- Secure Connections: Ensure all connections are secure and tuck the wires into the junction boxes.
Step 6: Install the Lights
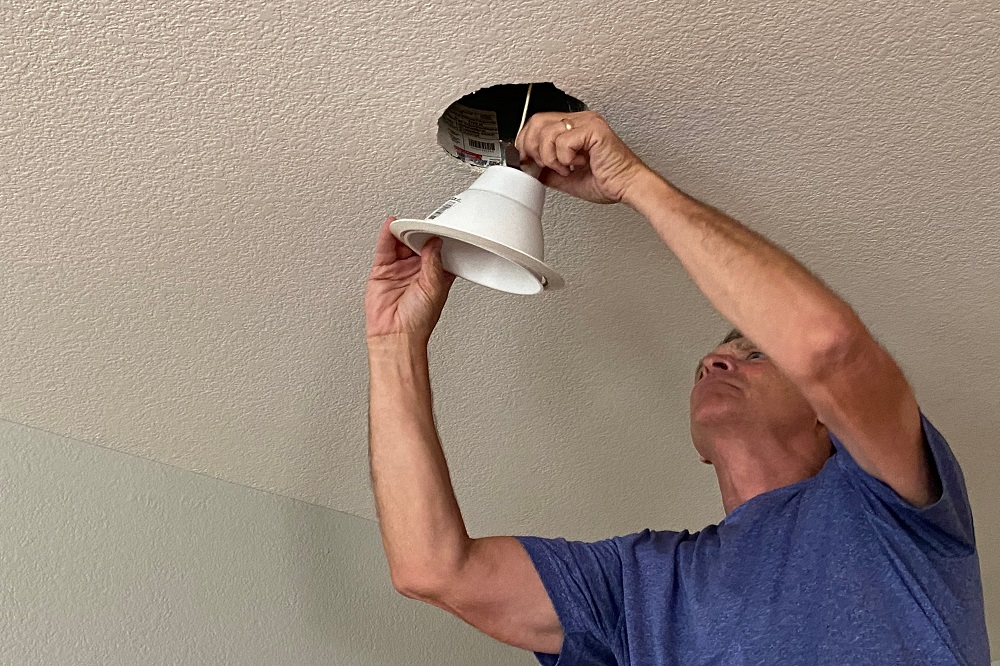
- Insert the Cans: Insert the recessed light housings (cans) into the holes and secure them in place according to the manufacturer’s instructions.
- Attach Trim and Bulbs: Once the housings are secured, attach the trim and insert the light bulbs.
Step 7: Install Switches and Dimmers (Optional)
- Remove Old Switch: If replacing an existing switch, remove it from the wall box.
- Install New Switch: Connect the new switch or dimmer to the wiring in the wall box and secure it in place.
- Test Connections: Turn the power back on and test the new switches to ensure everything is functioning correctly.
Step 8: Finishing Touches
- Patch Drywall: If you had to cut into the drywall, patch and paint any holes or gaps.
- Clean Up: Clean up the work area, dispose of any debris, and put away your tools.
Safety Tips
- Always turn off the power before working with electrical wiring.
- If you’re not comfortable working with electricity, consider hiring a licensed electrician.
- Follow all local building codes and regulations.

Additional Tips and Considerations
Choosing the Right Recessed Lighting
- Type of Housing: There are different types of housings for different applications, such as IC-rated (Insulation Contact) for insulated ceilings and non-IC-rated for non-insulated areas.
- Trim Styles: Choose trims that suit your decor, such as baffle trims for reducing glare, eyeball trims for directional lighting, and decorative trims for added style.
- Light Bulbs: LED bulbs are energy-efficient and long-lasting. Consider the color temperature (measured in Kelvin) to set the right mood: warm white (2700K-3000K) for a cozy atmosphere, or cool white (3500K-4100K) for a brighter, more energetic feel.
Energy Efficiency
- Use LED Bulbs: LED bulbs use less electricity and have a longer lifespan than incandescent or halogen bulbs.
- Dimmers: Installing dimmer switches can help save energy and extend the life of your bulbs by reducing the brightness when full lighting isn’t necessary.
Smart Lighting Options
- Smart Bulbs: Consider using smart bulbs that can be controlled via smartphone apps or voice assistants. This allows you to adjust the brightness and color temperature easily.
- Smart Switches: Install smart switches that integrate with your home automation system for added convenience and control.
Troubleshooting Common Issues
- Lights Not Working: Double-check your wiring connections and ensure the power is turned back on. Verify that the bulbs are properly installed and not faulty.
- Flickering Lights: This can be caused by loose wiring connections or incompatible dimmer switches. Make sure your dimmer is rated for LED bulbs if you’re using them.
- Overheating: Ensure the recessed lights are IC-rated if installed in an insulated ceiling to prevent overheating. Check for any obstructions around the housing that could cause heat buildup.
Maintenance and Upkeep
- Regular Cleaning: Dust and clean the trims and bulbs periodically to maintain optimal light output.
- Replacing Bulbs: When bulbs burn out, replace them promptly. Consider upgrading to higher-efficiency LEDs if you haven’t already.
- Inspect Wiring: Periodically inspect the wiring for any signs of wear or damage, especially if you notice any issues with the lights.
Professional Help
- Consult an Electrician: If you encounter complex wiring issues or are unsure about any step of the installation process, consult a licensed electrician.
- Building Codes: Ensure your installation complies with local building codes and regulations to avoid potential safety hazards or issues during a home inspection.

Enhancing Your Living Room Lighting Design
Layering Light
- Ambient Lighting: Recessed lights provide excellent general illumination, creating a bright and inviting space.
- Task Lighting: Add focused lighting for specific activities, such as reading or working. Consider floor lamps, table lamps, or additional recessed lights with directional trims.
- Accent Lighting: Highlight architectural features, artwork, or decorative elements with accent lights. Use adjustable recessed lights, track lighting, or wall sconces to draw attention to focal points in the room.
Lighting Control
- Zone Lighting: Divide your living room into different lighting zones, each controlled separately. This allows you to adjust the lighting based on the time of day and your activities.
- Timers and Sensors: Integrate timers and motion sensors to automate your lighting. This can enhance security, conserve energy, and add convenience to your daily routine.
- Remote Control: Use remote controls or smart home systems to manage your lighting without having to get up. This can be particularly useful for adjusting lights in hard-to-reach areas.
Creating Mood and Ambiance
- Dimmer Switches: Dimmer switches allow you to control the brightness, helping you create the perfect ambiance for any occasion. Dimming the lights can also reduce energy consumption and extend bulb life.
- Color Temperature: Adjust the color temperature of your lights to match the desired mood. Warmer tones (2700K-3000K) create a cozy, relaxing environment, while cooler tones (3500K-4100K) are ideal for tasks and lively gatherings.
- Colored Lighting: For a unique touch, consider using smart bulbs that offer a range of colors. This can be particularly fun for holidays, parties, or setting a specific mood.

Budgeting for Your Project
- Initial Costs: Factor in the cost of recessed light kits, wiring, switches, tools, and any necessary permits.
- Energy Savings: Consider the long-term savings of using LED bulbs, which consume less electricity and have a longer lifespan than traditional bulbs.
- DIY vs. Professional Installation: While DIY can save money, hiring a professional may be necessary for complex installations or if you’re not comfortable working with electricity.
Final Thoughts
Installing recessed lighting in your living room is a rewarding DIY project that can significantly enhance the aesthetics and functionality of your space. By carefully planning your layout, choosing the right components, and following proper installation procedures, you can achieve professional-quality results.
Recap of Key Steps
- Plan and Mark Layout: Ensure an even distribution of lights and avoid obstructions.
- Turn Off Power: Always prioritize safety by shutting off the circuit you’re working on.
- Cut Holes and Run Wiring: Use the correct tools and follow local electrical codes.
- Connect and Secure: Make proper wire connections and secure the lighting fixtures.
- Test and Adjust: Verify that everything works correctly and make any necessary adjustments.
By following this guide and considering these additional tips, you’ll be able to successfully install and enjoy your recessed lighting, enhancing the comfort and aesthetics of your living room. Happy DIY-ing!

