Installing outdoor electrical outlets can enhance the convenience and functionality of your outdoor spaces, but safety is paramount. Here is a step-by-step guide to safely install outdoor electrical outlets:
Materials Needed:
- Outdoor-rated electrical box
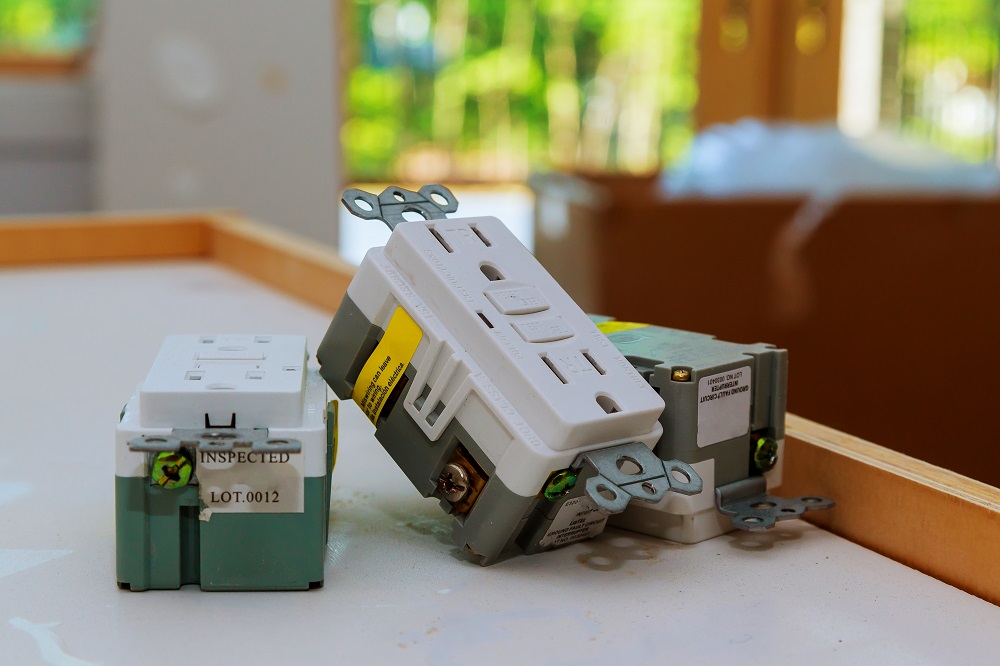
- GFCI (Ground Fault Circuit Interrupter) outlet
- Outdoor outlet cover
- Weatherproof gasket
- Conduit and conduit fittings
- Wire nuts
- Electrical tape
- Mounting hardware
- Caulking
- Voltage tester
- Screwdrivers
- Wire stripper/cutter
- Drill and bits (if needed)
Safety Precautions:
- Turn Off the Power: Before starting any electrical work, turn off the power at the circuit breaker to the area where you will be working. Use a voltage tester to ensure the power is off.
- Understand Local Codes: Familiarize yourself with local building codes and regulations regarding outdoor electrical installations.
- Use Proper Equipment: Ensure all materials and tools are rated for outdoor use and weather-resistant.

Step-by-Step Instructions:
- Plan the Installation:
- Determine the location of your new outdoor outlet. Choose a spot that is convenient and safe, away from potential water exposure.
- Plan the route for the conduit and wiring from your indoor power source to the outdoor location.
- Install the Electrical Box:
- Mount the outdoor-rated electrical box at the chosen location. Ensure it is securely attached to a sturdy surface.
- If you need to drill through an exterior wall to run conduit, make sure to use appropriate drill bits for the material.
- Run the Conduit:
- Measure and cut the conduit to the necessary length. Use conduit fittings to secure the conduit to the electrical box and the entry point at your home.
- Run the conduit from the power source to the outdoor electrical box. Ensure it is securely fastened and properly sealed.
- Pull the Wires:
- Feed the electrical wires through the conduit. Use wire rated for outdoor use.
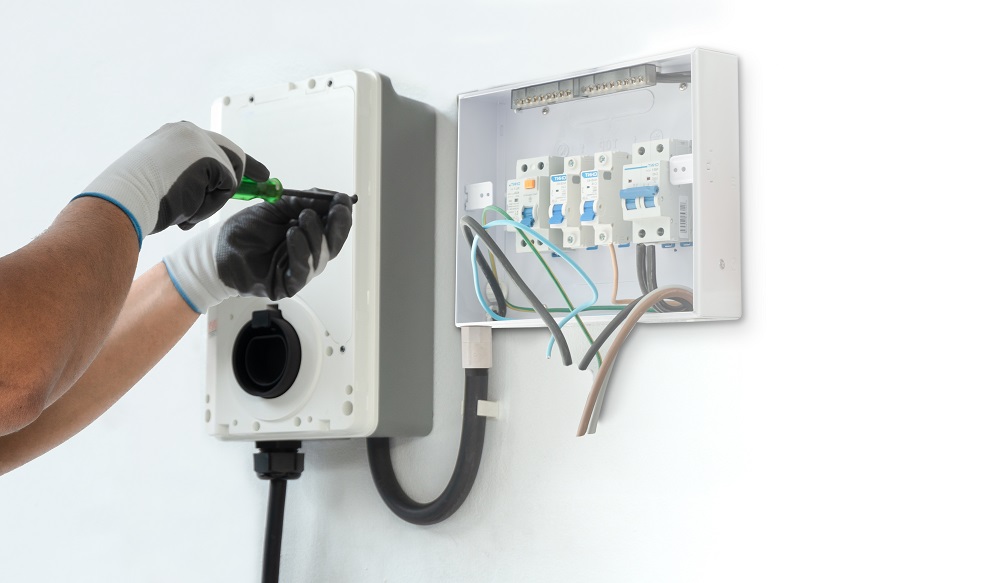
- Inside your home, connect the wires to the power source. Typically, you’ll connect the black (hot) wire, white (neutral) wire, and green or bare (ground) wire.
- Wire the GFCI Outlet:
- At the outdoor electrical box, connect the wires to the GFCI outlet. Attach the black wire to the brass terminal, the white wire to the silver terminal, and the ground wire to the green terminal.
- Use wire nuts to secure the connections and wrap them with electrical tape for added safety.
- Install the Outlet and Cover:
- Carefully place the GFCI outlet into the electrical box. Secure it with screws.
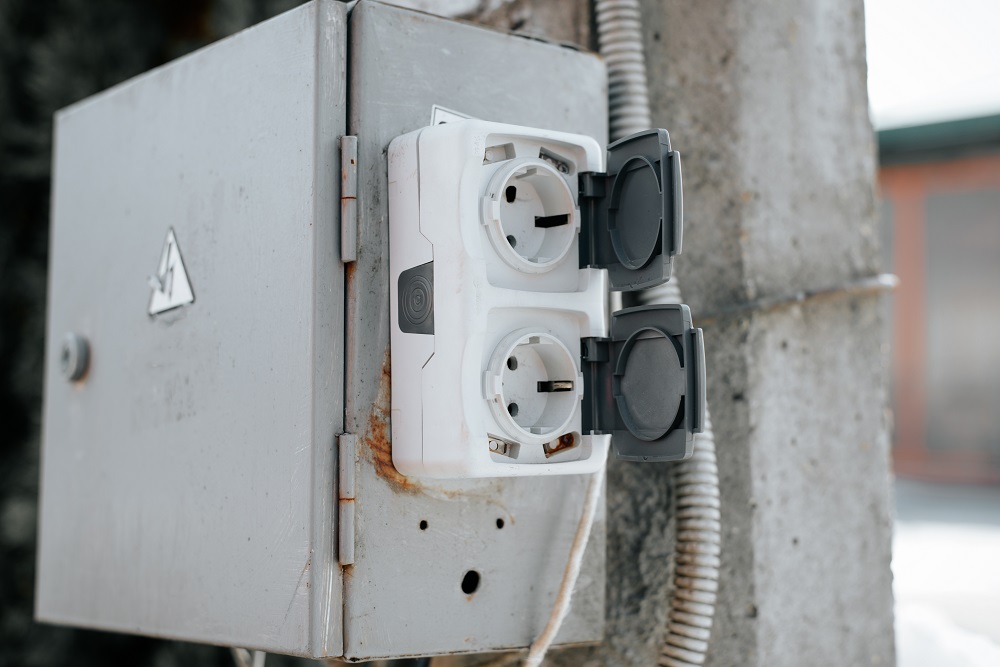
- Attach the weatherproof gasket and outlet cover to the electrical box. Ensure a tight seal to protect against moisture.
- Test the Installation:
- Turn the power back on at the circuit breaker.
- Use a voltage tester to ensure the outlet is functioning correctly.
- Press the “Test” and “Reset” buttons on the GFCI outlet to confirm it is working properly.
- Seal Around the Box:
- Apply caulking around the electrical box and conduit entry points to prevent water from entering.

Final Checks:
- Double-check all connections to ensure they are secure.
- Confirm that the outlet cover is closed properly when not in use to keep it weatherproof.
- Regularly inspect the outlet for any signs of damage or wear.
Additional Considerations:
- Choose the Right Location:
- Position the outlet in a spot that is easily accessible but also protected from direct exposure to rain and water.
- Avoid areas where heavy foot traffic or garden activities could damage the outlet.
- Use Outdoor-Rated Components:
- All parts of the installation, including the outlet, box, conduit, and cover, should be rated for outdoor use to withstand weather conditions and UV exposure.
- Choose a heavy-duty, weather-resistant outlet cover that closes automatically when not in use to protect the outlet from the elements.
- Proper Grounding:
- Ensure the outlet and the electrical box are properly grounded. Proper grounding is critical for safety, as it reduces the risk of electric shock.
- Follow the manufacturer’s instructions for grounding the GFCI outlet. Typically, this involves connecting the green or bare ground wire to the designated grounding terminal on the outlet and electrical box.
- Consider Additional Protection:
- If your outdoor outlet is in a particularly exposed area, you might consider installing a bubble cover. These covers provide extra protection and can be used even when the outlet is in use.
- For added safety, consider using a GFCI circuit breaker in your main panel to protect the entire circuit in addition to the GFCI outlet.

Maintenance Tips:
- Regular Inspections:
- Periodically check the outdoor outlet for signs of wear and tear, rust, or damage.
- Test the GFCI outlet monthly by pressing the “Test” and “Reset” buttons to ensure it is functioning correctly.
- Keep It Clean:
- Clean the outlet and cover regularly to prevent dirt and debris from accumulating.
- Make sure the cover closes properly and forms a tight seal.
- Seasonal Checks:
- Before the onset of winter or rainy seasons, check the outlet and cover for any potential leaks or damage.
- Ensure that the conduit and wiring are intact and not exposed.
Troubleshooting Common Issues:
- Outlet Not Working:
- Check the circuit breaker to ensure it has not tripped. If it has, reset it.
- Use a voltage tester to check if there is power reaching the outlet. If not, there may be an issue with the wiring or connections.
- GFCI Keeps Tripping:
- This could indicate a ground fault or moisture inside the outlet. Dry the outlet and check the connections.
- If the GFCI continues to trip, there may be a fault in the wiring or the GFCI outlet itself may be faulty and need replacement.
- Loose Connections:
- Over time, connections can loosen due to temperature changes and vibration. Periodically check and tighten all connections.

When to Call a Professional:
- If you are uncomfortable or unfamiliar with electrical work, it is always best to hire a licensed electrician to perform the installation.
- If you encounter complex wiring issues, such as unclear connections or unfamiliar electrical configurations, a professional can ensure the job is done safely and correctly.
- In case of persistent problems, such as repeated tripping of the GFCI or unexplained power loss, a licensed electrician can diagnose and fix the issue properly.
By following these steps, you can safely install an outdoor electrical outlet, providing convenience while ensuring safety. If you are unsure about any part of the installation process, it is always best to consult with or hire a licensed electrician.
