Installing a ceiling fan can be a rewarding DIY project. Here’s a step-by-step guide to help you through the process:
Tools and Materials Needed
- Ceiling fan with mounting kit
- Screwdrivers (Phillips and flat-head)
- Wire strippers
- Electrical tape
- Voltage tester
- Ladder
- Pliers
- Wire nuts
Safety First
- Turn off Power: Before you start, turn off the power to the existing light fixture or the area where you’ll be installing the ceiling fan at the circuit breaker.
- Test the Wires: Use a voltage tester to ensure that the wires are not live.

Step-by-Step Guide
1. Remove the Existing Light Fixture
- Remove Fixture Cover and Bulbs: Take off the light fixture cover and bulbs.
- Unscrew the Fixture: Unscrew the fixture from the ceiling.
- Disconnect Wires: Carefully disconnect the wires connecting the light fixture to the ceiling wires.
2. Install the Ceiling Fan Mounting Bracket
- Attach the Bracket: Install the mounting bracket that came with your ceiling fan. It should be secured to the ceiling box with screws.
- Secure the Bracket: Ensure the bracket is firmly attached to support the fan’s weight.
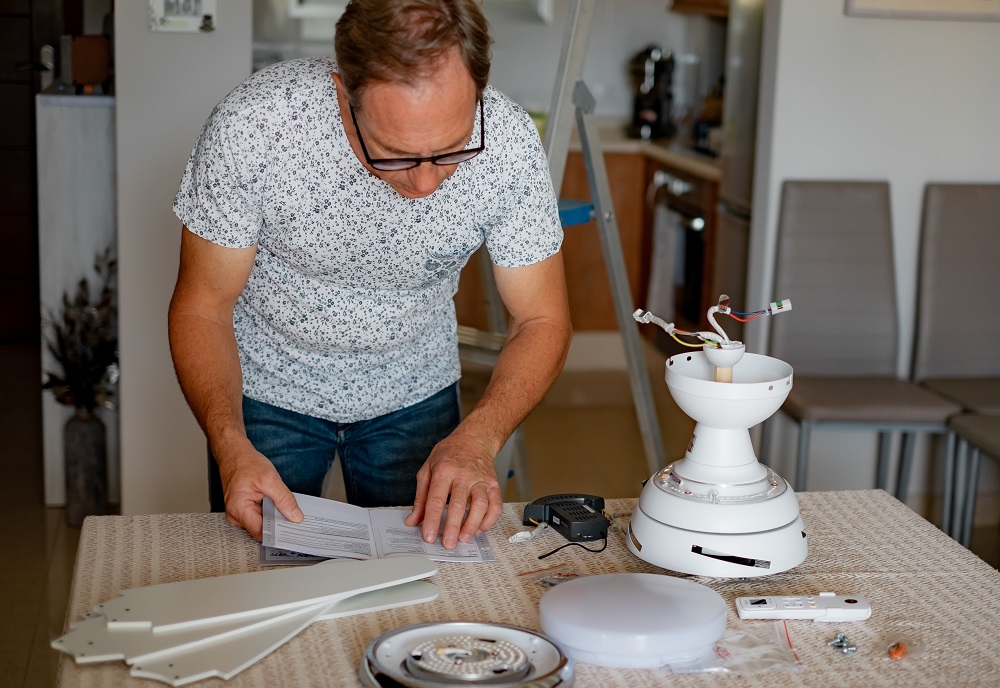
3. Assemble the Ceiling Fan
- Attach the Downrod (if applicable): If your fan uses a downrod, attach it to the fan motor housing.
- Secure the Motor Housing: Follow the manufacturer’s instructions to assemble the motor housing and any other parts.
4. Mount the Fan to the Ceiling
- Lift the Fan: Carefully lift the fan and attach it to the mounting bracket.
- Secure the Fan: Secure the fan according to the manufacturer’s instructions.
5. Wiring the Ceiling Fan
- Connect the Ground Wires: Connect the green or bare copper wire from the ceiling to the green wire from the fan.
- Connect the Neutral Wires: Connect the white (neutral) wire from the ceiling to the white wire from the fan.
- Connect the Hot Wires: Connect the black (hot) wire from the ceiling to the black wire from the fan. If your fan has a separate light, connect the blue wire (from the fan) to the black wire from the ceiling.
- Use Wire Nuts: Use wire nuts to secure the connections and wrap them with electrical tape for extra safety.
6. Attach the Fan Blades and Light Kit
- Install the Fan Blades: Attach the fan blades to the motor using the provided screws.
- Attach the Light Kit (if applicable): If your fan has a light kit, connect the wires and attach it to the fan.
7. Final Checks
- Secure All Screws: Make sure all screws and bolts are tight.
- Restore Power: Turn the power back on at the circuit breaker.
- Test the Fan: Test the fan and light to ensure they are working correctly.

Additional Tips
- Consult the Manual: Always refer to the ceiling fan’s installation manual for specific instructions.
- Seek Help: Ceiling fans can be heavy; having an extra pair of hands can be helpful.
- Check Local Codes: Ensure your installation complies with local electrical codes and regulations.
Additional Tips for Installation
Balancing the Fan
- Check for Wobbling: After installation, if the fan wobbles, it may need balancing. Most fans come with a balancing kit that includes weights and instructions on how to balance the blades.
- Use a Fan Balancing Kit: Follow the instructions to place the weights on the fan blades until the wobbling is minimized or eliminated.
Dealing with Ceiling Height
- Low Ceilings: For rooms with low ceilings, consider using a flush-mount ceiling fan (also known as a hugger fan) which mounts directly to the bracket without a downrod.
- High Ceilings: For rooms with high ceilings, use an extended downrod to lower the fan to the optimal height. The fan blades should be at least 7 feet above the floor and 8-9 feet is ideal.

Troubleshooting Common Issues
Fan Does Not Turn On
- Check the Power: Ensure the power is turned on at the circuit breaker and the wall switch.
- Wiring: Double-check all wire connections to make sure they are secure and correctly matched (black to black, white to white, green to green/bare copper).
- Remote Control: If your fan uses a remote control, ensure the batteries are installed correctly and are functional.
Fan Wobbles or Makes Noise
- Blade Alignment: Ensure that all fan blades are aligned and not bent. Even a slight deviation can cause wobbling.
- Tighten Screws: Check and tighten all screws on the fan blades and motor housing.
- Blade Balance: Use the balancing kit as mentioned earlier to adjust the blades and reduce wobbling.
Light Kit Does Not Work
- Check Bulbs: Ensure the light bulbs are properly installed and not burnt out.
- Wiring: Verify that the light kit wiring is correctly connected, particularly the blue (fan light) wire.
- Switches: Ensure any pull chains or wall switches for the light are turned on.

Safety Reminders
- Turn Off Power: Always turn off power at the circuit breaker before starting any electrical work.
- Test for Live Wires: Use a voltage tester to confirm that wires are not live before handling them.
- Follow Instructions: Adhere strictly to the manufacturer’s installation instructions and safety guidelines.
- Consult a Professional: If you are unsure about any step or encounter issues, consult a licensed electrician to avoid potential hazards.
Final Steps
- Fan Settings: Familiarize yourself with the fan settings, including speed control and direction settings (clockwise for winter, counterclockwise for summer).
- Regular Maintenance: Periodically check the fan for loose screws and clean the fan blades to maintain optimal performance and safety.
By carefully following these instructions and tips, you should be able to successfully install and enjoy your new ceiling fan. If at any point you feel unsure or uncomfortable, it’s always best to seek assistance from a professional electrician.
